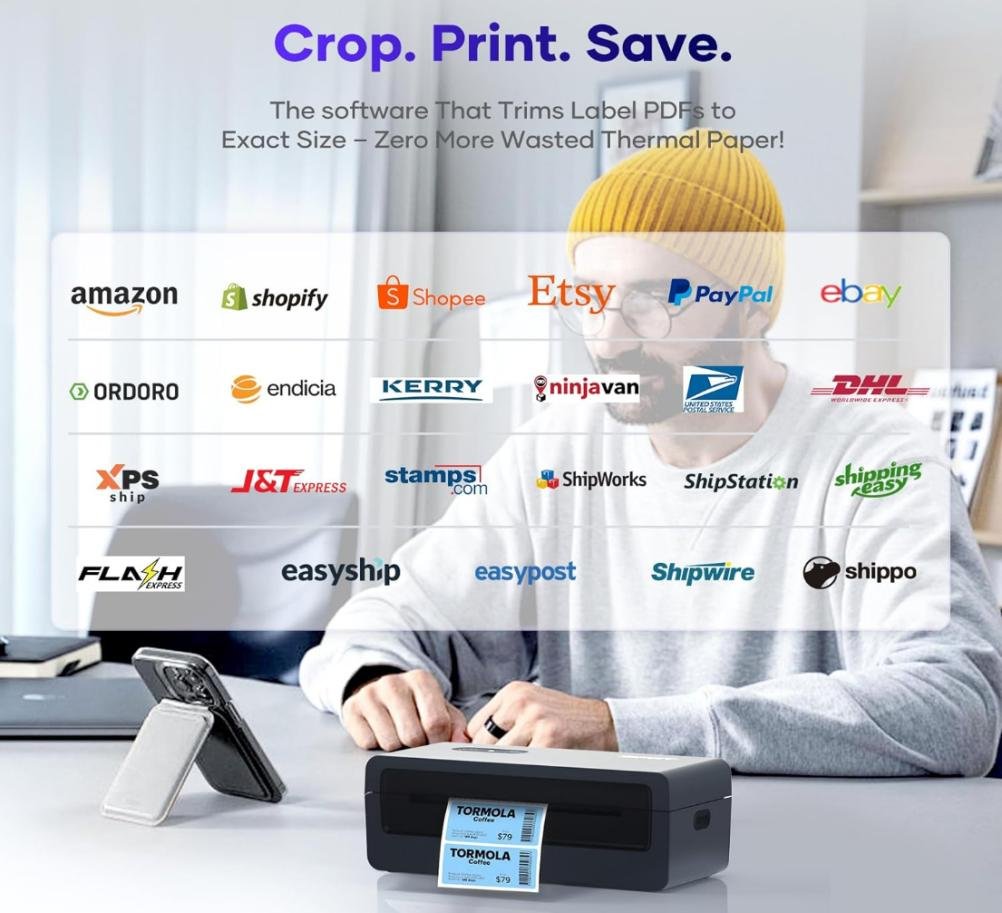
Crop Labels Efficiently: A Practical Guide for E-Commerce Shipping Labels

If you sell on Amazon, Flipkart, Meesho, Shopify, WooCommerce, or other marketplaces, you probably print hundreds of shipping labels, invoices, and packing slips. Many sellers receive labels as multi-label PDFs or A4 pages containing extra margins, branding blocks, terms and conditions, or multiple labels per page. Label cropping is the process of trimming a PDF or image so that only the printable shipping label remains, at the correct size and orientation.

What does “crop labels” mean?
In practical terms, cropping means removing unnecessary content around the label while preserving the barcode, QR code, order number, address, and any carrier-required markings.
Before
A4 PDF page → large white margins → marketplace header → invoice text → label in one corner.
After
Only the label area remains → centered → correctly sized for thermal or A4 printing.
Why sellers crop labels
-
Save paper and thermal labels: print only the needed label area.
-
Improve barcode reliability: remove scaling artifacts caused by “fit to page” printing.
-
Match printer stock: 4×6″, 100×150 mm, 4×8″, or custom sizes.
-
Merge labels in the order you want: crop first, then merge for batch printing.
-
Reduce operator mistakes: clean, uniform labels are easier to verify during packing.
Common label formats
Source
Typical output
Common issue
Amazon
A4 PDF with 1–4 labels
Extra margins and invoice blocks
Flipkart
PDF with shipping label + tax details
Multiple sections on one page
Meesho
PDF or image label
Inconsistent margins and scaling
Shopify apps / courier portals
4×6″ thermal label PDF
Occasional rotation or whitespace
The basic crop workflow
-
Upload or open the label PDF/image.
-
Detect or select the label area.
-
Set the target paper size (e.g., 100×150 mm).
-
Preview at 100% zoom.
-
Export the cropped PDF.
-
Print with Actual Size / 100% scale, not “Fit” or “Shrink”.
-

A simple conceptual diagram
Source page (A4/PDF with extra content)
Cropped label only
Automatic vs. manual cropping
|
Method |
How it works |
Best for |
Risk |
|---|---|---|---|
|
Automatic detection |
Software finds the largest label-like rectangle |
Consistent marketplace PDFs |
May miss unusual layouts |
|
Manual selection |
You drag the crop box around the label |
Mixed or irregular documents |
Slower for large batches |
|
Template-based cropping |
Fixed crop coordinates reused for every file |
High-volume operations with identical layouts |
Fails if the layout changes |
Best practices for thermal printers
Thermal printers (4×6″ / 100×150 mm) are the most common setup for marketplace labels.
Target dimensions
|
Label stock |
Pixel-independent print size |
|---|---|
|
4×6″ |
4.00 × 6.00 in (101.6 × 152.4 mm) |
|
100×150 mm |
100 × 150 mm |
|
4×8″ |
4.00 × 8.00 in |
Cropping multi-label A4 pages
A frequent scenario is an A4 PDF containing 2 or 4 labels per page. The safest workflow is:
-
Split the page into individual labels.
-
Crop each label tightly.
-
Export each as a single-page PDF.
-
Merge the single-page PDFs in the desired picking/packing order.
-
Print the merged file at 100% scale.
Quality control: what to verify after cropping
-
Barcode quiet zones: leave a small blank margin around barcodes and QR codes; do not crop right up to the bars.
-
Address completeness: ensure recipient name, street, city, PIN/postal code, and phone (if required) remain visible.
-
Carrier markings: routing codes, AWB numbers, and service labels must remain intact.
-
Page size metadata: the exported PDF should report the target size (e.g., 100×150 mm), not A4.
-
Scan test: scan a sample from each batch before printing hundreds of labels.
-
Common mistakes and how to avoid them
|
Mistake |
Symptom |
Fix |
|---|---|---|
|
Printing with “Fit to Page” |
Barcodes appear slightly compressed or stretched |
Use Actual Size / 100% |
|
Cropping too tightly |
Barcode edges are clipped |
Leave a small margin around codes |
|
Wrong label stock selected |
Label prints offset or split |
Match driver size to physical stock |
|
Mixing portrait and landscape labels |
Some labels rotate unexpectedly |
Normalize orientation before merging |
|
Using low-resolution screenshots instead of PDFs |
Fuzzy text and unreadable QR codes |
Export/print from the original PDF whenever possible |
Batch processing for high-volume sellers
If you process dozens or hundreds of orders daily, manual cropping becomes a bottleneck.
A scalable workflow:
-
Download all label PDFs for the day.
-
Group files by marketplace/layout type.
-
Apply a saved crop template to each group.
-
Normalize all outputs to a single target size (e.g., 100×150 mm).
-
Merge outputs in warehouse picking order.
-
Print a 3–5 label sample batch for verification.
-
Print the full batch.
Conclusion
Label cropping is a small operational change that can produce outsized benefits: cleaner prints, fewer barcode issues, faster batch processing, and better alignment with thermal label stock. The safest workflow is crop from the original PDF, preserve barcode margins, export to the exact target size, and print at 100% scale. Whether you process a handful of orders or thousands per day, a consistent crop → normalize → merge → print pipeline dramatically reduces friction in packing and shipping operations.
If you are building or evaluating a free e-commerce label crop tool, focus on three capabilities above all else: accurate crop detection, correct PDF page-size metadata, and reliable batch processing. Those three factors determine whether the output scans correctly on the first try and whether your team can trust the tool during peak order volume.